M-SAT: 10AM-6PM
(631) 538-0068
cropped-MobileMaxCarAudio-logo

CALL US

(631) 518-6158

Car Stereo Receiver Installation

AFTERMARKET MEDIA RECEIVERS

Car Stereo Receiver Installation

Are you looking to add new features to your vehicle? The most sought after features when upgrading a vehicles head unit receiver include Apple CarPlay, Android Auto, Bluetooth Streaming, Navigation Guidance and Screen Mirroring. Let our team  help you find the right radio so you can start enjoying those new features.

Components Required For Installation

Vehicle Specific Molded Dash Kit

Vehicle Specific Wiring Harness

AM/FM Antenna Adapter

Optional Additional Components

Steering Wheel Control Interface

Factory Camera Conversion Kit

CANBUS Decoder Module

Ready to upgrade your vehicle?

Schedule your Appointment Today

SCHEDULE NOW

HOW IT WORKS

The Installation Process

When upgrading a vehicles car stereo there are a couple of factors to consider. The first is which factory components can be integrated to work with the new receiver. While older cars have no issue retaining almost all factory components (speakers, antennas, steering wheel controls) certain makes and models make it more complex and therefore more expensive to retain and add certain features.

The second thing to consider is what accessories and additional components must be added to the equation.  Almost all installations will require a dash kit or molded plastic to accommodate the new aftermarket radio into the factory location. Wiring harnesses, smart harnesses with embedded CANBUS decoders, and steering wheel control interfaces might be needed as well to allow the new radio to communicate with the factory system.

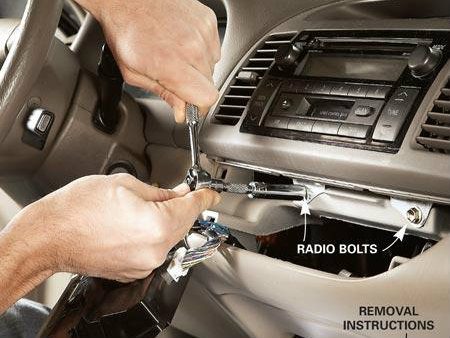
The last thing to consider is the disassembly of the vehicle and what panels/components must be removed to accomplish the installation. On some vehicles it may require just two screws on others it may require half of the vehicles interior to be removed to replace the radio.  All these considerations affect the price and duration of an installation.

download

STEP 1: Planning

download (1)

STEP 2: Accessories

carradio_slide3

STEP 3: Disassembly

010416-How-to-splice-wires-4119

STEP 4: Wiring

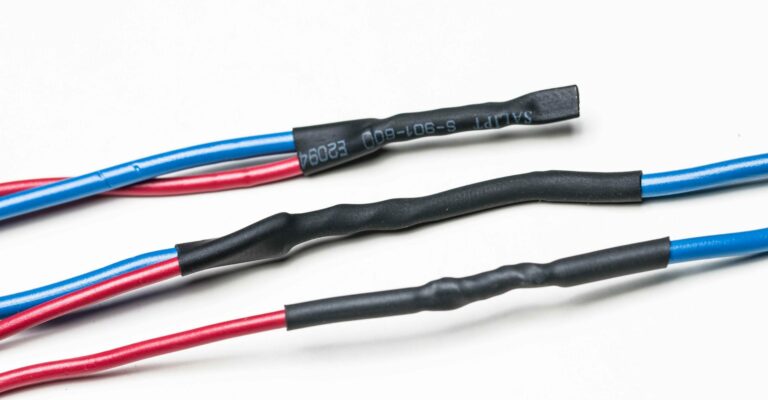
We approach every install the same way. We first put together a plan of attack for upgrading the receiver. This includes what panels we will need to remove what accessories we will need to add and what programming if any will be required. After we have a solid plan we round up our accessories and begin the disassembly. Once we have the car apart we can verify our accessories and components will work to accomplish our goal and we begin wiring all the components/harnesses together for the installation.

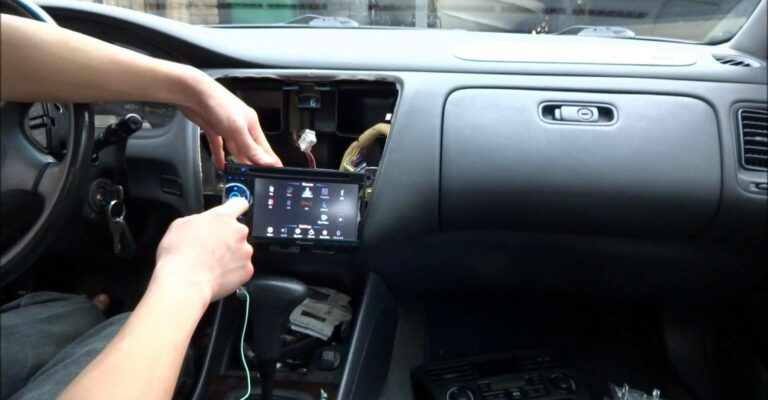
Now that everything is wired together and ready to install we prepare it inside the vehicle and test all the necessary functions to verify your new microphone is working and that the new navigation antenna can reach a satellite. After everything checks out we perform any necessary programming to retain your steering wheel controls or other factory components. After everything is tested and verified working we move on to the reassembly.

car_deck_install_1920x

STEP 5: Installation

mqdefault

STEP 6: Programming

k2-_0ad3302d-e691-4be4-87dc-a8a814459ad5.v1

STEP 7: Assembly

Video-screen-capture

STEP 8: Demonstration

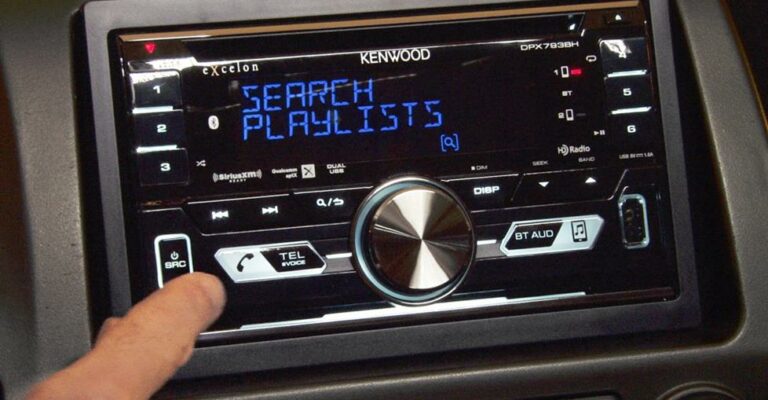
Just like taking the car apart putting the car back together carefully is important. Our technicians ensure they carefully assemble your vehicle back together making sure they don’t damage or accidently unplug a connection after the radio has been installed. The last and most important part of the installation is the presentation/demo.

While some customers may choose to just skip the demonstration others find it extremely helpful as it allows them to quickly learn about the new features of there radio. We like to educate our customers and help them get the most out of there new investment.